LinoIt

LinoIt is a Web 2.0 tool which can be used in the classroom many different ways.
|
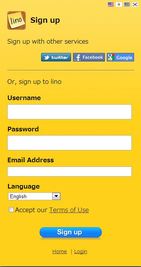
In order to be able to use LinoIt, you must create a username and password. I recommend using your district email address and the password in which you currently use for your computer. This way you don't have to remember ANOTHER username and password.
Click on the picture (left) and it will take you to the registration page. Fill in: Username Password Email Address and check the Accept our Terms of Use. Click SIGN UP |
|
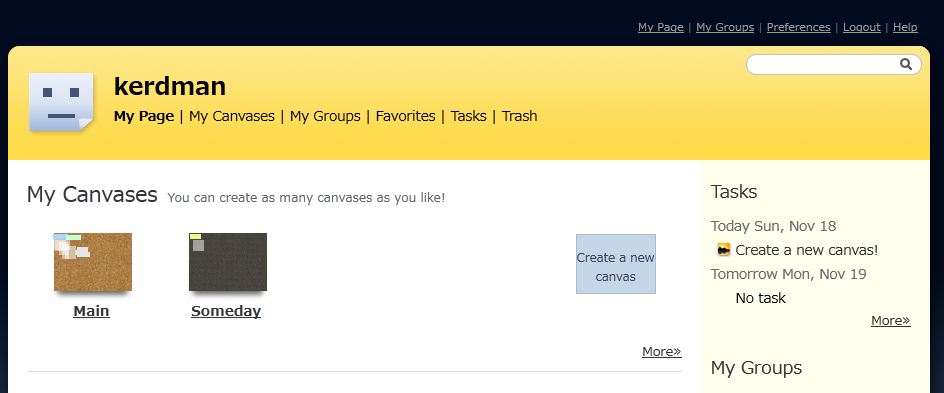
Basically, you are creating an online bulletin board in which "sticky notes" can be posted. It is important to know that you have control over who can post sticky notes. You also have control over your students posts by instructing them on how to post.
Example: I always tell my students to put their names on their sticky notes. If there is no name, I delete it. If someone posts something inappropriate, I use it as a teaching moment to show how "not" to use technology. Creating a NEW CANVAS
|
|
|
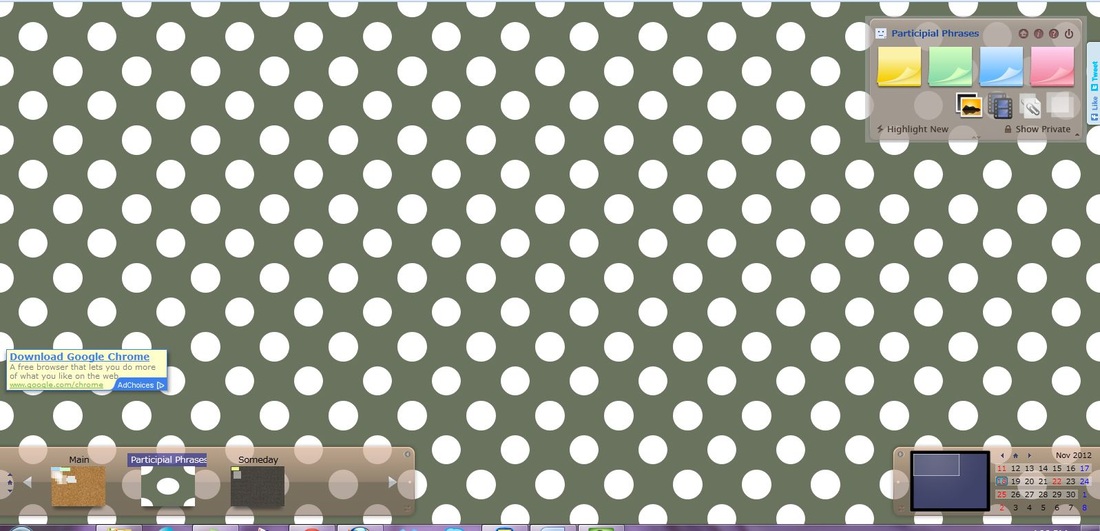
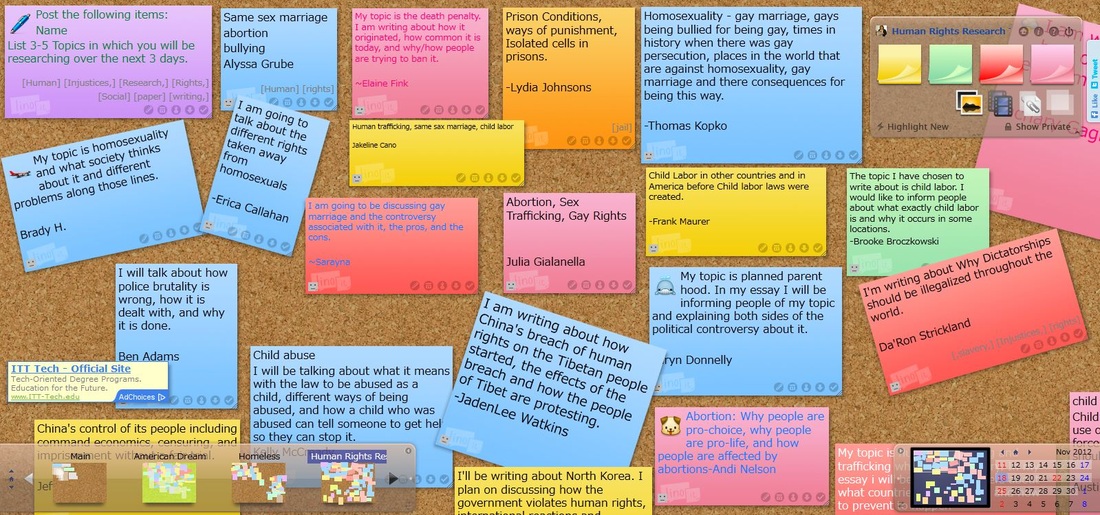
This is what the canvas will look like to you and your students.
On the right, you will see the sticky note pads. I suggest that you choose one and write your instructions on the sticky note, so students can read and re-read the directions. Remember, this tool is great because it can be used to assess the group as a whole and allow ALL students a voice. |
|
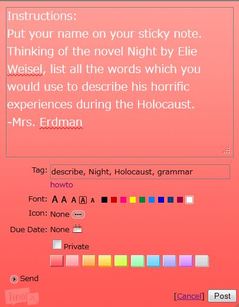
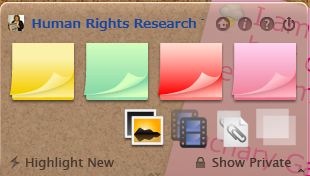
Click on a sticky note in the upper right corner.
It should resemble the photo to the right.
|
|
|
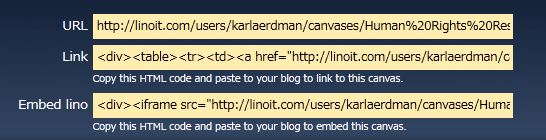
At this point, you will want to click the INFORMATION button on the sticky note pad on the right of the screen.
It is the "i" button above the pink sticky note. The information button opens up the links which you will use to either embed the canvas into a website, wiki, blog, etc. Or you can copy the URL and email it to your students. Or you can have your students type in the URL and go to the canvas. |
|
As your students begin to add their sticky notes to your canvas, you can project the canvas for everyone to see, you can just watch as students' sticky notes appear, you can review later, etc.
There are so many possibilities. Sticky notes can be edited, peeled off (deleted), rotated, pinned (so they don't move), and so much more. This is a fun and engaging activity for students, and it allows teachers to assess quickly while all students are able to provide answers. This activity could also be given to the students to make a sticky canvas during an entire unit of study. There are just so many possibilities. See my blog "How do YOU use technology in your classroom" to offer ideas for using LinoIt. |
|